In Compilations, by Kelly Anne Wills
A fantastic limited time deal, check it out fast. 🙂
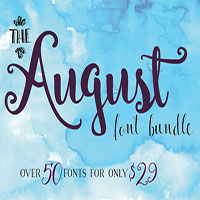
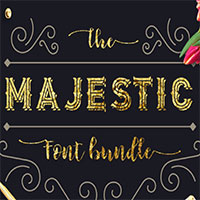
Take a look at these amazing font from The Hungry JPEG.

If you are in need of a well supported and high quality Wordpress theme, give these a look.
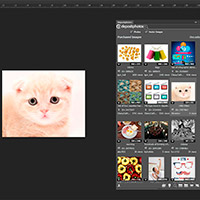
My review of Depositphotos new extension for Photoshop, Illustrator, and InDesign.

You could be a winner of a premium Wordpress theme from ThemeFuse in our giveaway!

If you are starting a new blog or just want a new look, here are some cool new themes for you to consider.

If you are thinking of creating your own Christmas cards, check out these inspiring designs for ideas!